Tuesday, June 14, 2016

front door

Now that the other house is finished and sold, it's time to get back to the small house.

Liam graduated this year (What??!!) and it's time for a party. So it's time to get back to our yard. There are a few things we want to give our attention to, and actually made quite a list, but we had to pick just a few - We have way more dreams and ideas than money and time at the moment.
Here are a few links to previous yard work:


So, here is a sort of before photo. We did paint the door blue and pulled out some really ugly bushes in front of the porch.

So much brown and tan. And we have never really loved that blue. We had high hopes for it and it just was not singing to us at all.


Then I spent a few hours painting the posts and the trim at the top. We knew we wanted to do this for the entire house, but I got it in my head to do a preview. Oh, yes. We would love white trim, thank you very much.


But as you can see, we have so much more to do!

We have done a few things - We updated the landscaping big time (Post on that soon.)

And Hero put in a new door!

I really cannot tell you how much of a difference this door has made to the look of the house. I am just so in love with the rectangle window instead of the half circle.


I think this suits the style so much better. And I could not wait to get some color on it.

We were going back and forth on a few color choices 


We decided to go bold!


First things first. Prepping to do a paint job can feel like such a hassle, but it is totally worth skipping all grief that comes later from an unprepped  project.

So I taped. And the only tape I had on hand was plain old masking tape. But it totally did the job.


Next I painted a thin coat of white, the color of the trim and close to the color of the weather stripping. This really helps keep the edge nice and crisp.

(I did this with the stair painting project, too.)


Here is the potential! A brand new can of paint and a fresh clean brush. :)


You know how when you decide on a color and then you start painting and you wonder, "um, I really hope this is not a big fat mistake"?

Sometimes I think that, too.

But I was totally not fearing the red!


Even though it looked like this at first.


Oh. My. Goodness.

Love.

Okay, the problem with a color like red going on a white unpainted door? It takes more than one coat.

It takes five.


When I started to peel the tape off, It was tearing a little bit. Not surprising with five coats of paint. So I just took my exacto knife and "cut" the paint.


Definitely one of the best moments in a paint job.


Look how amazing this is! 


We for sure made the right choice for this door. It is just what the front of the house needed.

Plus a ton of other things.

Before:


After:


We have plans for that little mailbox, too. 

We have lots more coming up, including spraying all the brown and tan trim white, painting the garage and building a pergola.

Party is in three and a half weeks.

Yikes.
 photo signature.jpg

Saturday, June 11, 2016

the whole house

Well Hi!

We finished the house!

It went on the market and was sold in about 3 days for full asking price!

We have such a terrific realtor who is the best - truly! - Please ask if you need a kind, honest, friendly, hardworking real estate agent.

Anyway - These photos are from the official listing on Marie Riley's Keller Williams website

The front was repainted - It was the same color as the roof. It is so much more cohesive - The front now matches the rest of the house. We did a little landscaping as well, but we had nothing to do with that tree - So pretty! 


Ah. The kitchen. We are so pleased with the way this room turned out! New paint, lighting (and centered in the room), cabinets, counter, sink, faucet, appliances and floor. Ready to be loved.


View from the living room.


And the dining area.


Living room. Nice and big, with a vaulted ceiling.


From the living room looking up to two bedrooms, two linen closets and a bath. And looking down to the family room, 3rd bedroom, bath, laundry room and crawl space access.


Here's the up. Bathroom at the end of the hall, with a linen closet on each side of the hall.


Great bathroom! Newly refinished bathtub, new vanity, sink, faucet, new mirror and new medicine cabinet. This bathroom had a few plumbing issues, too, but that is all good now.


One of the upstairs bedrooms. Like I mentioned, they all look pretty much the same - All freshly painted and carpeted, new windows and door knobs.


From the family room looking at the stairs. You can see the bathroom there, too.


And the awesome crawl space! So much storage here - I don't think anyone would miss a basement.


This house was really fun to work on. I have to say though, I am a little disappointed not to decorate it. It has such a great foundation to work with lots of different styles. I'm sure the new owners will love the opportunity to put their own stamp on it.

If you are interested, here is Marie's contact information:

 photo signature.jpg

Wednesday, April 20, 2016

lower level

I have some photos today!

The house project is coming along swimmingly. We are trying to get a bunch of little things buttoned up to get this baby on the market.

Let me show you the lower level.

Starting with the bathroom.

Before:


This photo does not do justice to the color.

And - After:


Now it has a great foundation for adding some personal touches.


Hey - A new window!

And a spunky shower curtain.


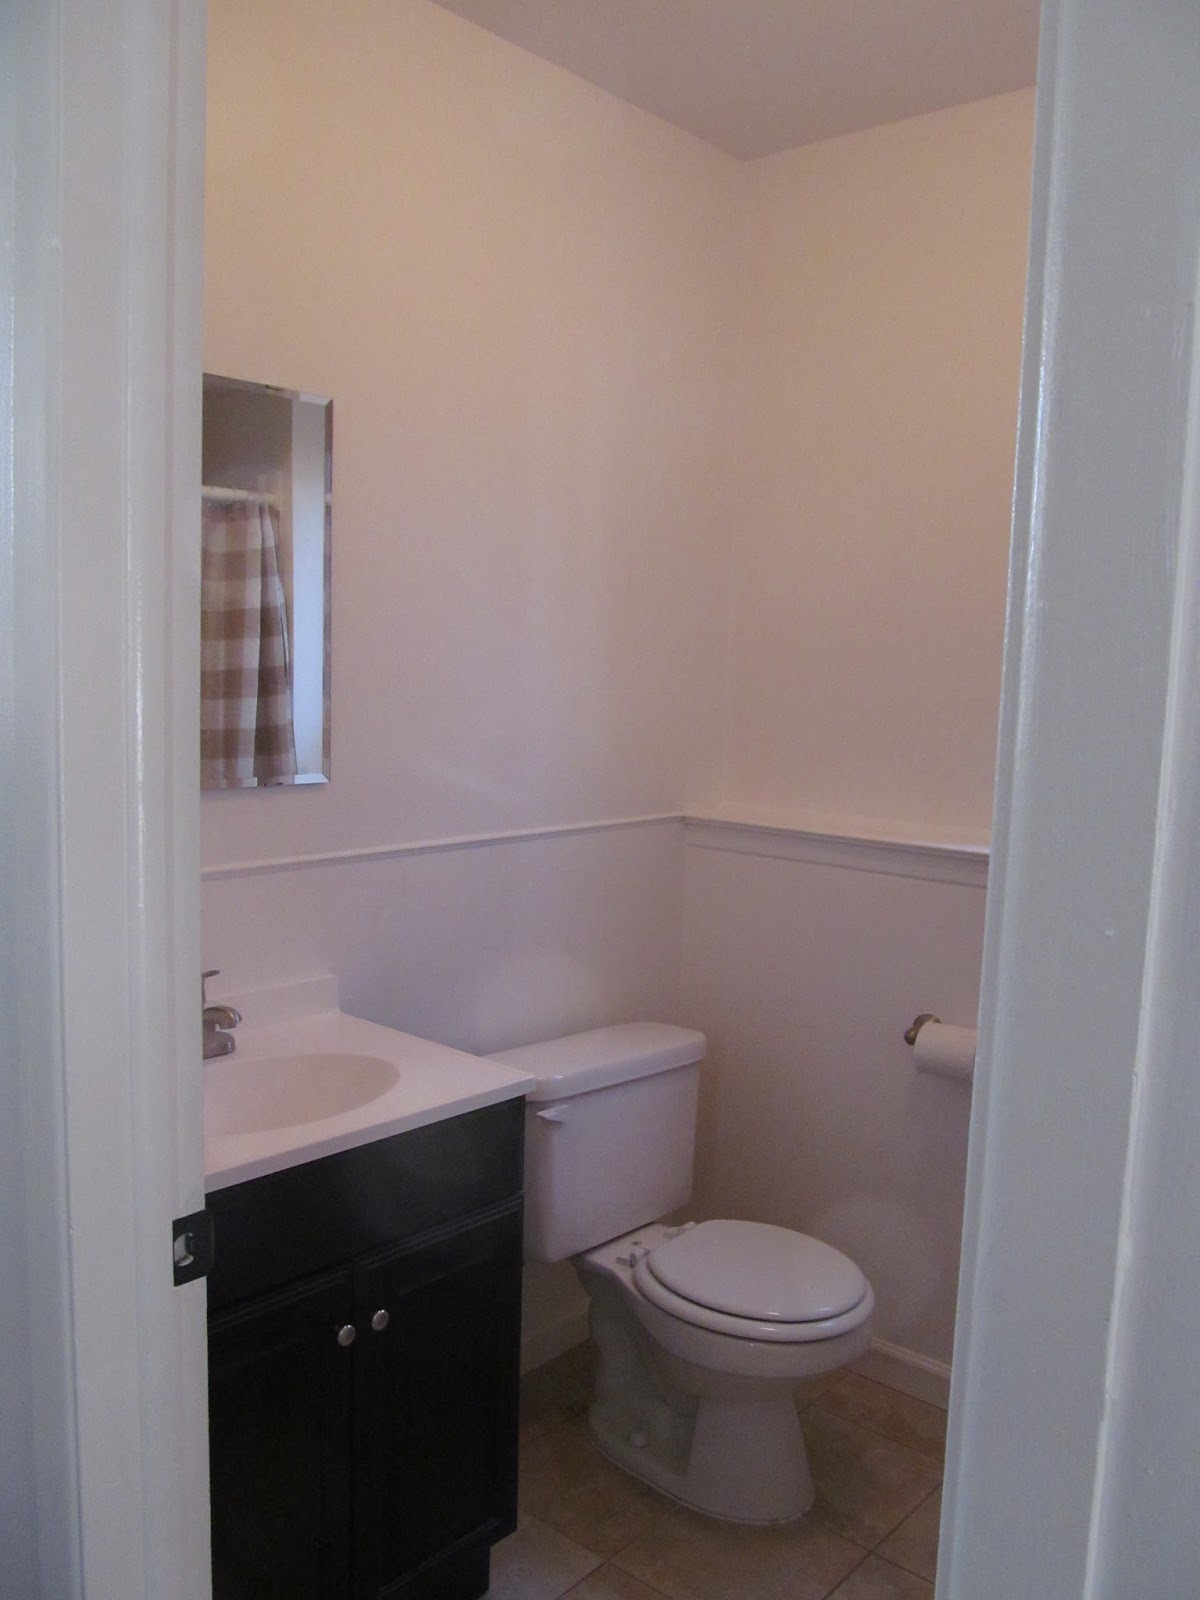
It also got a new vanity, sink, faucet, mirror and toilet seat . And a thorough cleaning :)


This is not the exact same room, but I figure it's close enough. They all looked like this. 

Pretty lifeless.

This can be the before picture for all of the rooms.


And after. 

This room is on the lower level (what you walk into when you come down the stairs) and could be used for a family room or office or crafty place. 

It's a really great space.


The door opening leads to a bedroom.


And here is that bedroom after. (See before photo above.)


With a cute closet.

Oh - We replaced all the door handles. Aren't they great?


On to the laundry room.

It's a pretty good size. That space under the (new) window is where the washer and dryer will live. 


See that? This room is pretty well designed to get lots of use out of it.


From the washer/dryer spot looking back out. You can see the bathroom across the hall.

And right past the furnace to the left, there is the access to the crawl space. 


Which is awesome!

This area is huge - There is so much storage space in here!

So that's the lower level. We can pretty much say everything on the lower level list is checked off.

Next I'll show you the upper level.
 photo signature.jpg

Saturday, March 12, 2016

where we are now

 Hi there!

We have been painting and painting and painting over one of the worst colors to paint an entire house. White is one of my favorite colors to use in decorating, but I'm telling you, white never looked so good. 

I'll post some before and after photos soon.

I thought I would start with what's happening in the kitchen. Who doesn't love a good kitchen renovation?

Let's look at where we started:


Oh yeah.

Are you loving that light? Among other things?

It can be hard to tell, but these cabinets and counter are just so not good. They have lived a good long life and it's time for them to go the way of all the earth.


So go they went. 

Demo is one of the really fun parts of any job - All the excitement you are feeling about a project gets converted into energy to rip things out and smash them to pieces. Of course, the next day all the muscles you don't normally use on a regular basis are really upset with you, but in the moment, run with the power.
  

Looking better already.


Patching is next. We wanted to start fresh with nice smooth walls so we could install everything the way it should be, not necessarily the way it was.


And, Snap! The walls are white! And smooth.

If only all home improvement projects were so speedy.


Starting in the corner on the uppers, Hero and crew (Elder Slack and Elder Bennett, the missionaries serving in our ward. They get to help out people as part of their responsibilities) got this part of the project done in about a half a day.

They so totally rock.


Elder Slack is about the right height to be an excellent support during the install.


Doors next. 


And admiring their work. As they should, things are looking awesome.


See?

What a difference already.


Installing and wiring the hood vent. This house will come with all the kitchen appliances included. 


Cutting out the lower cabinet to fit around the plumbing.

(Side note - Hero loves that saw.)


Another step back to take a look. 


From the living room.

See that all the walls are white? How about that.


Of course we have a joke that Hero cannot use that tool he is holding very effectively - It's a stud finder. He sets it off all the time. :)

Anyway, getting those cabinets securely mounted and level is how we roll.


This is really looking good!


Whoa - What a difference!

That is the counter top laying across the lower cabinets. It is really a great look with this color cabinets.

One more before:


And during:


So clean and fresh - it's really coming along. 

Next for the kitchen, counter top and sink installed, new floor, new lighting, finish up the painting, get the appliances installed.

All kinds of good things.

Next time I'll share what else is happening in the house.
 photo signature.jpg