Monday, August 26, 2013

How I Accidentally Made My Custom Shades Even More Custom

When we moved into our new small home, we quickly discovered a treat left behind by the previous owner -

Lots of not very attractive window treatments.

Like these:


And these:


 I am not debating the value, efficiency or attractiveness of valences, vertical blinds and mini blinds. 

But the treasures we ended up with were not of any value. And they were not efficient. And they were certainly not attractive. 

They had see their day and it was time to toss them out the window.

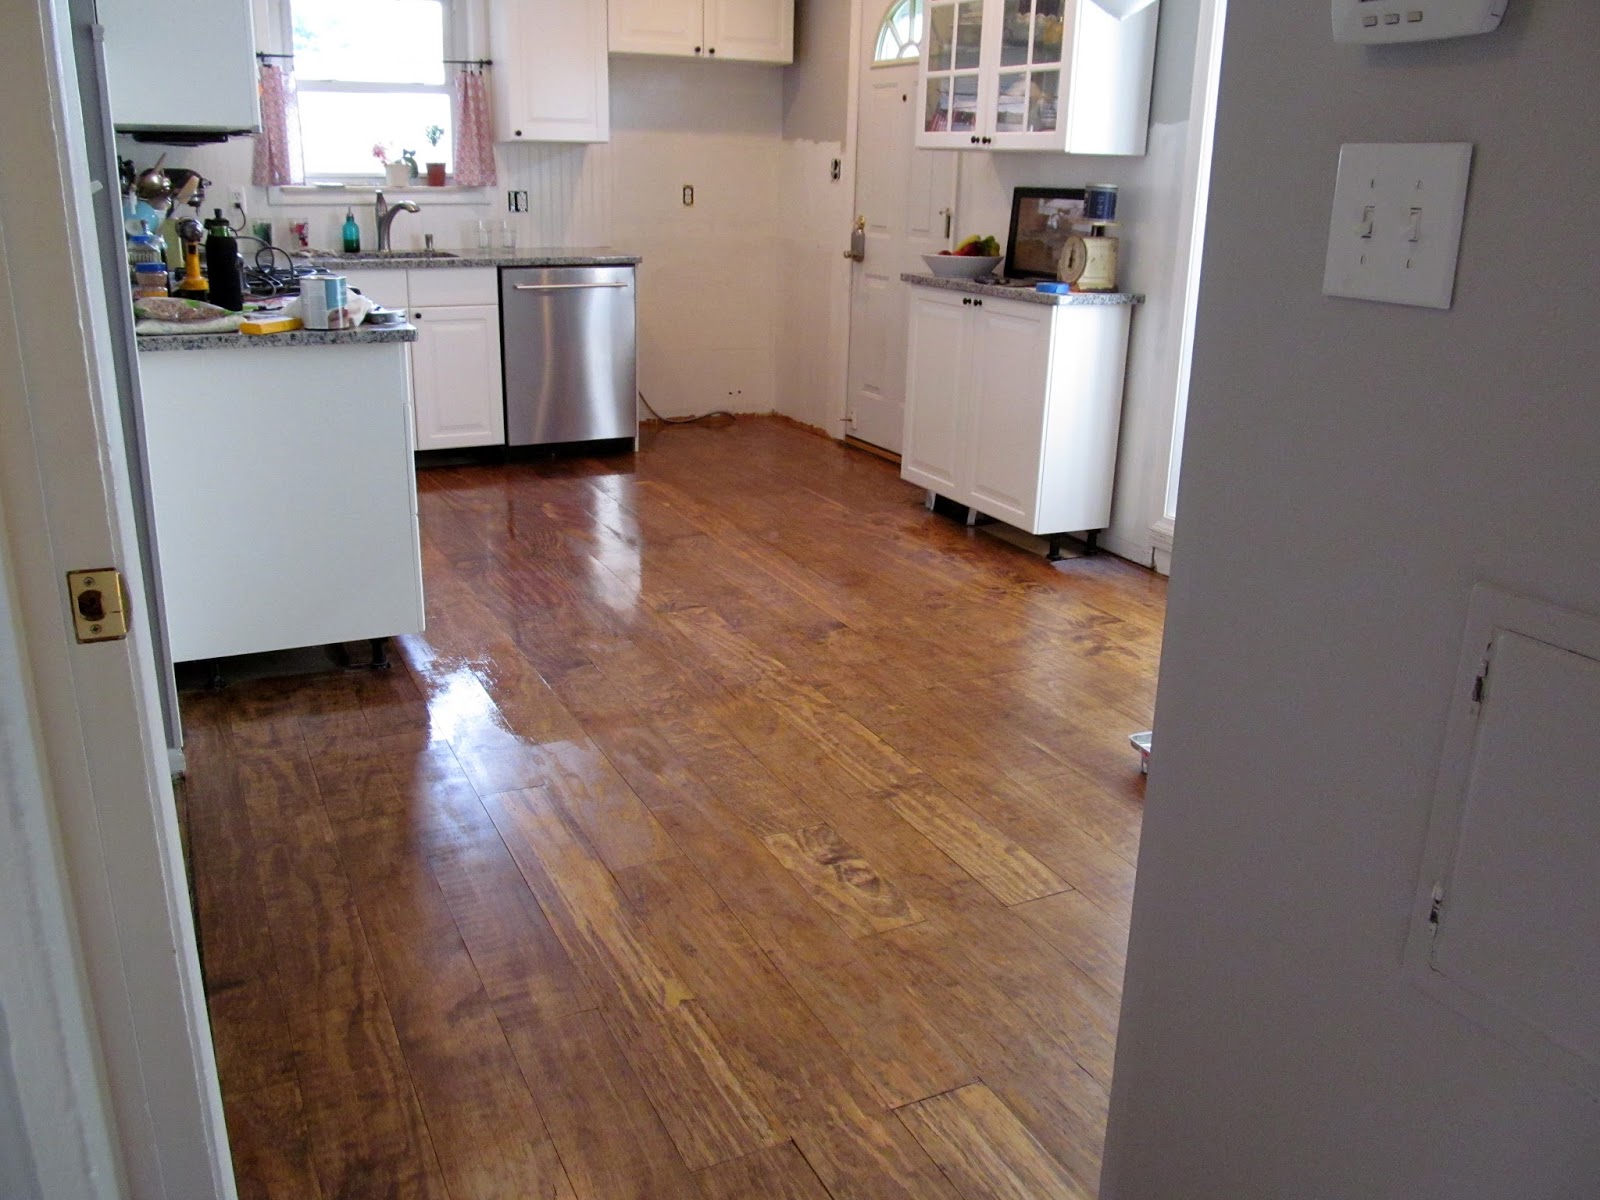
This particular window in the kitchen had a few flaws - Mainly they were stained wood while every other window in our house was white vinyl. It really stuck out like a sore thumb.

Again - There are lots of virtues to stained wood windows. It just was not working out for us.

So we did this:


And we totally love it!

And then I did this:


After we ditched the mini blinds, I ended up painting our brand new custom shades. Not on purpose.

Really.

After all the work we have been doing in the kitchen (see here, here, here and here), and with the pressure of having out of town guests, we worked on several little projects that needed to just be wrapped up. 

The shades made the list. 

They were about to get even more custom.

I got out my supplies and went to work. After measuring where I wanted the stripes to go (meaning the best way to camouflage the unintentional paint stripe) , I taped off the area with painting tape. Since it was already painted, I figured paint would be the best way to go.


The thing that makes working with painting tape successful is to really get that edge to be painted smooshed down good. The best way to do that is to use a credit card (or in my case my Pampered Chef pan scraper) and run it along the edge a few times.


Ready to paint! 

I have to say that I am not a fan of the prep work. I know it is super important and I do it, but when I want to paint, I want to paint. Not measure and tape. 

Ok - complaining over.


First coat done. I used a brush instead of a roller since I already had some brush strokes. It made for a nice texture. I think if I were just wanted to jazz up these shades for fun I would use a mini-roller though.

But they're both good.


One of the most rewarding parts - Removing the tape. Love those crisp lines! I must have smooshed those edges just right - no bleeding under the tape. Horray!

Can you see the textured line in the photo above? That spot was painted a year ago is just determined to make itself shown. But I am going to ignore that. At this point, this project is going to be done NOW.

Plus, I'm pretty sure they are going to look just fine once the light shines through, which is what I am most concerned about.


Oh yeah.

That is what I am talking about. It totally worked!


Can you tell what I didn't do? 

I did not measure to make these stripes exactly the same as each other. I measured to correct the existing accidental paint stripes. I could have done them all the same, but that doesn't bother me. I like a little variety.

But Hero is such a trooper, because he would have undeniably made them all exactly the same.

And that would have been good, too.

Crossing this off the list.

Wednesday, August 14, 2013

kitchen floor part four

You can stick a fork in this kitchen floor - It is done!

Here is where we left off _


We were loving loving this color! With all the white, gray and black going on in here, it feels good to have the warmth of the wood. Combining cool (gray) with warm (brown) and stainless steel with wood gives off good vibes in any room. We are so loving the effect in our kitchen.

We were debating about painting a checkerboard look on the floor and finally made up our minds:

We opted to keep all this warmth underneath and not paint any squares at all.

We had lots of response to our little survey on whether we should leave the wood or paint the squares - About even actually, with a slight preference for the solid wood. It was super fun to read them - Thanks for your input!


Next step is Polyurethane. I love that there is a water based version. It goes on quick, doesn't distort the color underneath and is super easy to clean brushes and hands.

Summer time means bare feet.


Hero took a few swipes at the clear coat. 

Not sure why he is wearing socks.

Speaking of socks, this floor is super slippery! Not wanting to take any chances at the top of the stairs, we added a little anti-slip gripper product to the Polyurethane at the landing. Don't even want to think about how dangerous that would be.


Looks terrific!

We ended up with five thin coats of Polyurethane. We tried to make sure it got in all the crevices and grooves. Hopefully it will keep out the milk that will most likely get spilled.


After sealing the floor we still had that funny odor from the stain - ugh. Setting the mood with a bunch of little candles helps with that - Not sure how that works, but even unscented candles draw the smell away.


This is how done we are with the floor - trim going in!

The trim piece that goes between the two floors was not quite right for this floor, but since we had already stained it, Hero just took it out to the garage a few times and then it fit.

Nice.


A few photos that show off this lovely floor.

And the way cute stool that I found a while back at an estate sale. Just when I claimed it, there were a lot of disappointed shoppers. 


It is done!

We are in love.

Tuesday, August 6, 2013

Kitchen Floor Part 3

Our kitchen floor is all done and it is amazing! 

It turned out just like we hoped and we just love it.

And I will post photos of the done deal as soon as our computer works again. 

Ugh.

But I did manage to email these two photos to myself and can do a mini update on a different computer.

Hero and I were tossing around a few ideas for the floor when we finally choose this wood floor made from plywood (really!):


We really loved the look of checkerboard, too. We found this amazing floor:

painted diamonds on porch

And thought we could have the wood floor and the diamonds!

But we were totally loving the way the wood floor looked all on its own and were a little tiny bit hesitant to paint it. Which is not really like us. Usually we just plow through. 

Maybe we have learned a thing or two form past mistakes?

Anyway, we determined the size of squares we wanted to use and cut out about 2752 40 to lay out on the floor. 

We wanted to use a light color paint, so this was a really great way to get a good visual on what we might be living with for the next several years.

Want to see?


The eating area - In reality there would be a table and chairs on top of this.


And the working side. (Sorry about the sideways view - I rotated it on the computer but it just will not make the leap in the upright position.)


Here is how it looks without the diamonds.

What do you think? 

Really, you won't hurt our feelings. We are pretty good at doing what works for us so if you don't love it, that is okay. Or if you do, that is good, too.

Which would you choose?